
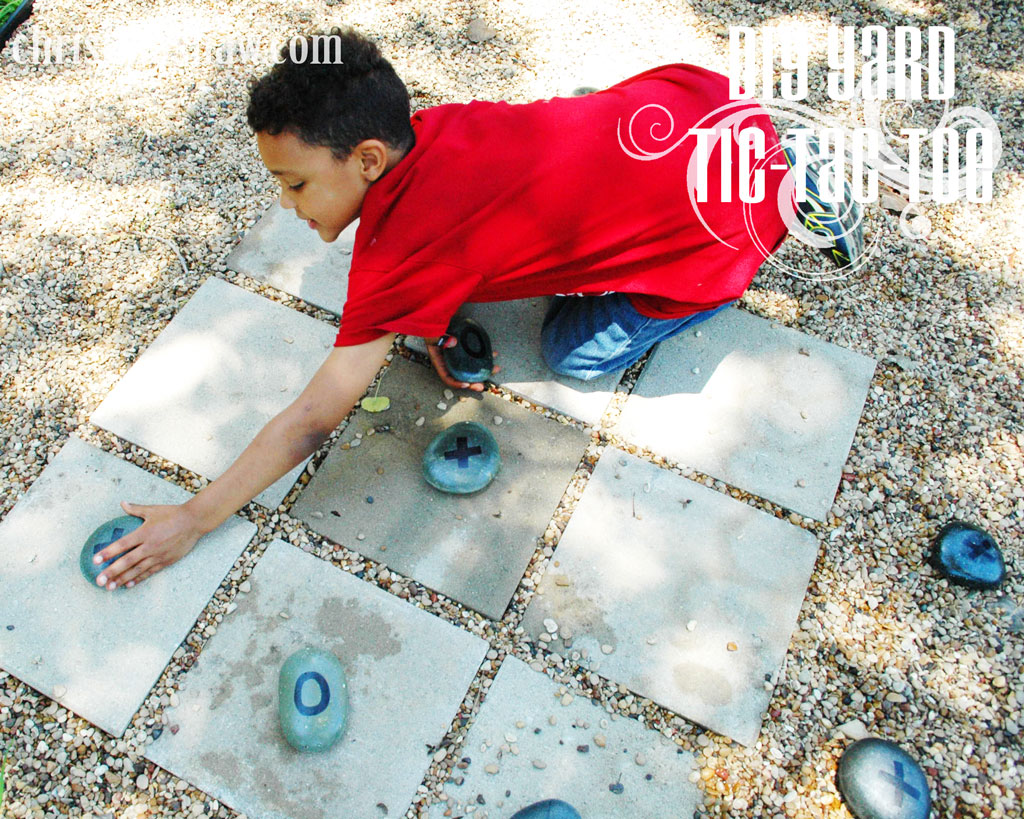
DIY Tutorial: Yard Tic-Tac-Toe Game
What could be better than playing outside when the weather is good? How about a permanent game of Tic-Tac-Toe? All the pieces are already here! No paper waste and no assembly required! Everything is weatherproof and should stay nearby, barring small children or dogs running off and burying your game pieces!
I originally got this idea off Pinterest. I find so many ideas there and rarely implement any of them! I’m proud of myself when I do, though!
You may want to browse Pinterest for more ideas on this project. I saw several variations. Some used a tree trunk for the board. Some painted the X’s and O’s like ladybugs and bees. Some used 3d pieces for the X’s and O’s instead. Some made a smaller version on a smaller tile. Use whatever level of creativity you want here!
My youngest playing a round with me!
Materials
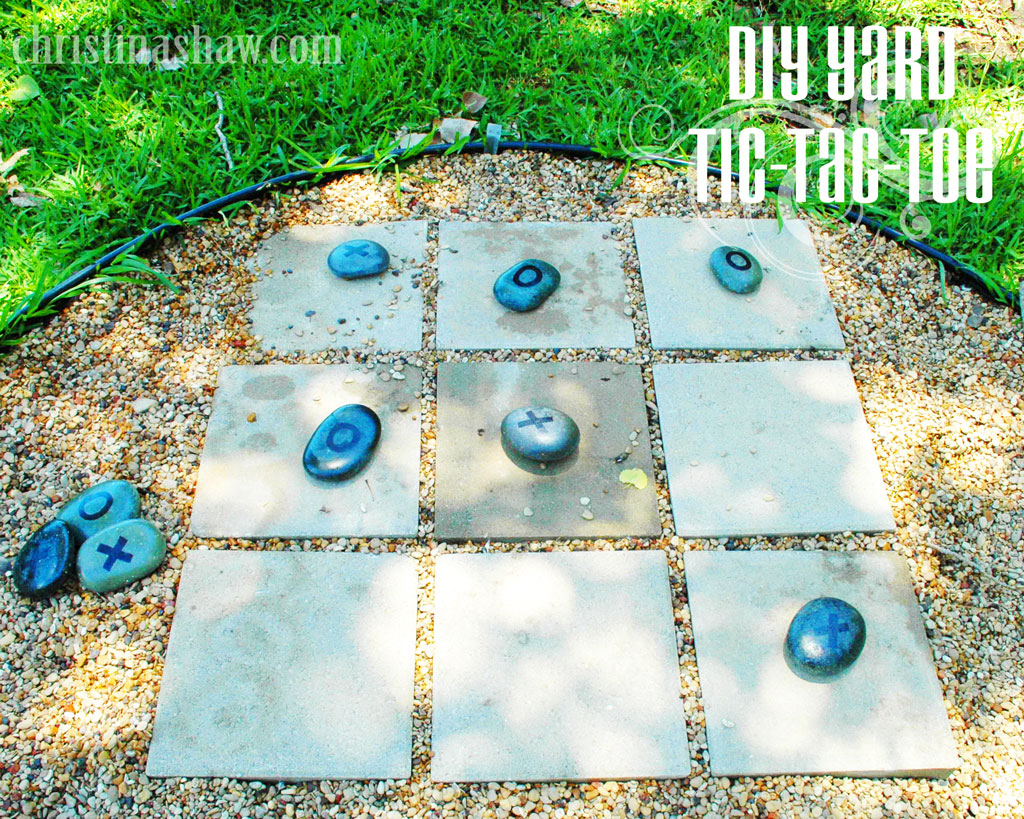
- 9 12″x12″ Concrete Pavers (like these here; they also come in red, if you so desire!)
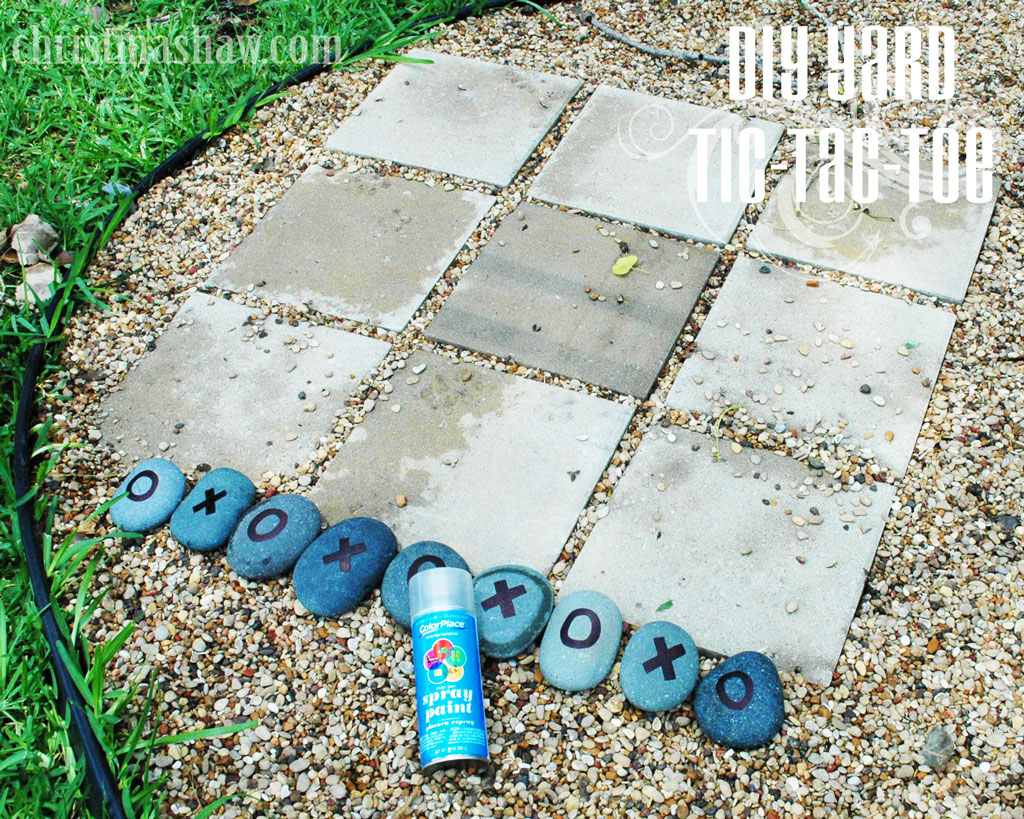
- 9 palm-sized flat, round stones (we used Mexican Beach Pebbles we found at a local landscaping company)
- Clear Coat Spray Paint (already had on hand, but if you have to purchase, you can get it here)
- Black permanent marker (or paint or vinyl cutout sticker/stencil or engraved, if you’re talented like that…whatever you desire to mark your stones with! Marker can be found here)
Instructions
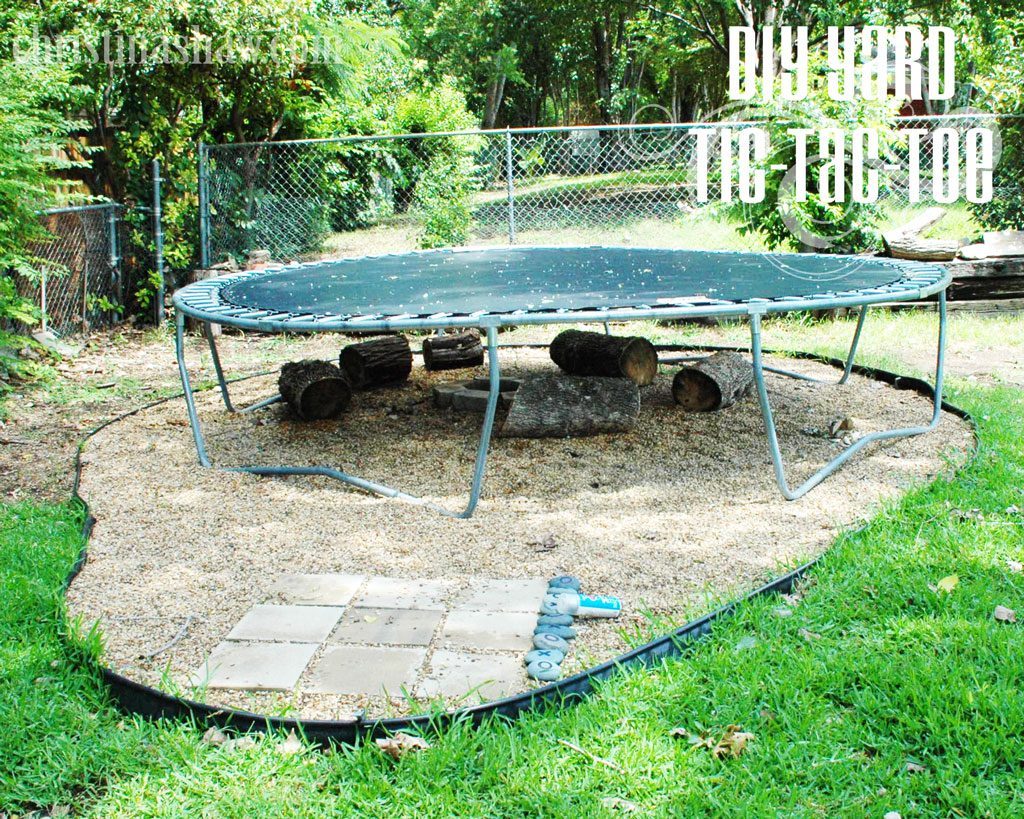
- Lay pavers. We semi-buried ours in the pea pebbles in our fire pit area, but the original plan I saw for this was just laid in the grass. You’ll probably want it pretty level, but it doesn’t have to be perfect! Our area is going to double as a surface for placing our grill when we want to cook down there in our yard!
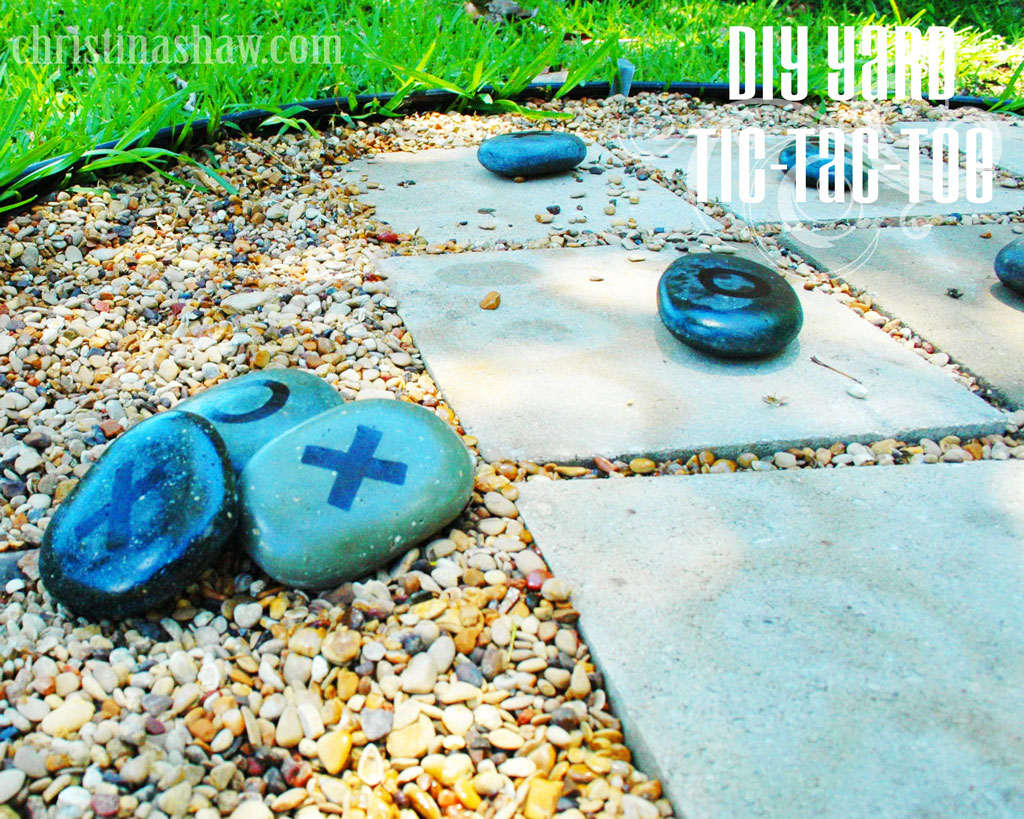
- Mark your stones – one side with a X and the other side with a O. I just hand drew each with a black permanent marker, but you could do whatever you wanted!
- Spray a layer of clear coat spray paint on one side of your game piece stones. Allow to dry and take care of whatever surface you are spraying on or around. I just placed them in our pebbles and sprayed away.
- After the game piece stones have dried, flip to the other side and spray a clear coat on it. Allow to dry. Repeat steps 3 and 4, if desired.
- PLAY!
Project Costs
- 9 Pavers $0.99 each ($8.91)
- 9 Stones $0.28/pound ($3.64)
- Clear Coat Spray Paint – On hand, so free for me ($1.82)
- Black, permanent marker – On hand so free for me ($0.98)
Total: $12.55 (or $15.35 (more or less) if you have to purchase all supplies listed here; variations may have different costs associated with them)
Project Time: 1-2 hours (I drew my X’s and O’s while watching a movie)
Experience Level: Beginner
If you make this project, please post photos back! And follow me on Pinterest!
One thought on “DIY Tutorial: Yard Tic-Tac-Toe Game”